Single Sign-On provisioning setup - Azure AD (SCIM)
Admin of the RemotePC Team and Enterprise accounts can now set up provisioning for their users / groups from the identity provider. RemotePC supports SCIM (System for Cross-domain Identity Management) provisioning method to provision users / groups.
To setup Single Sign-On (SSO) provisioning with Azure AD, the admin needs to:
- Generate SCIM provisioning token with RemotePC account
- Configure SCIM provisioning
- Assign users / groups to the provisioned app
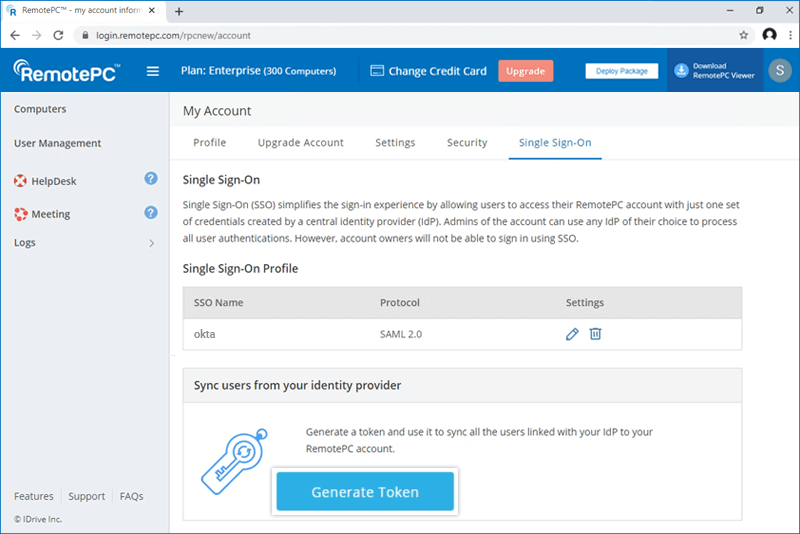
Admin needs to generate and use the SCIM (System for Cross-domain Identity Management) provisioning token to sync all the users linked with their IdP to the RemotePC account.
To generate a token,
- Accedere a RemotePC tramite browser web.
- Fare clic sul nome utente visualizzato nell'angolo in alto a destra e fare clic su "Il mio account".
- Passare alla scheda "Single Sign-On" e fare clic sul pulsante "Genera token" sotto "Sincronizza utenti dal tuo fornitore di identità" per generare un token.
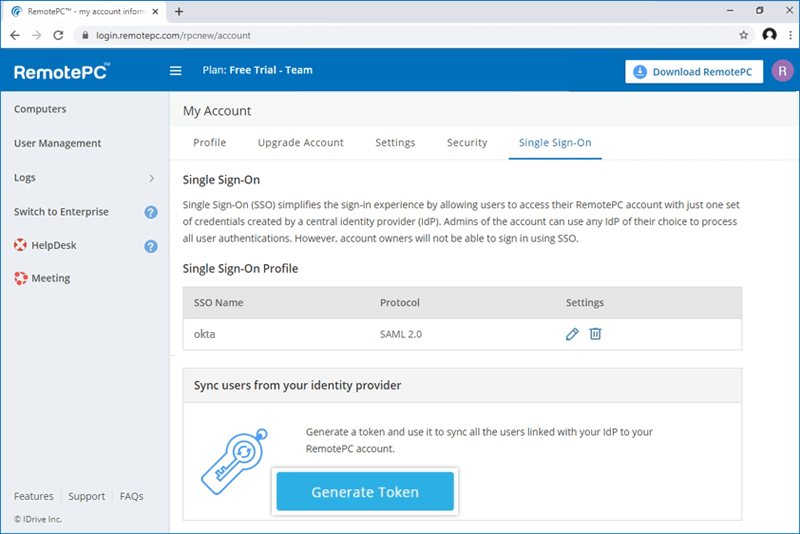
- Fare clic sul pulsante "Copia token" per copiare e salvare il token per riferimento futuro.
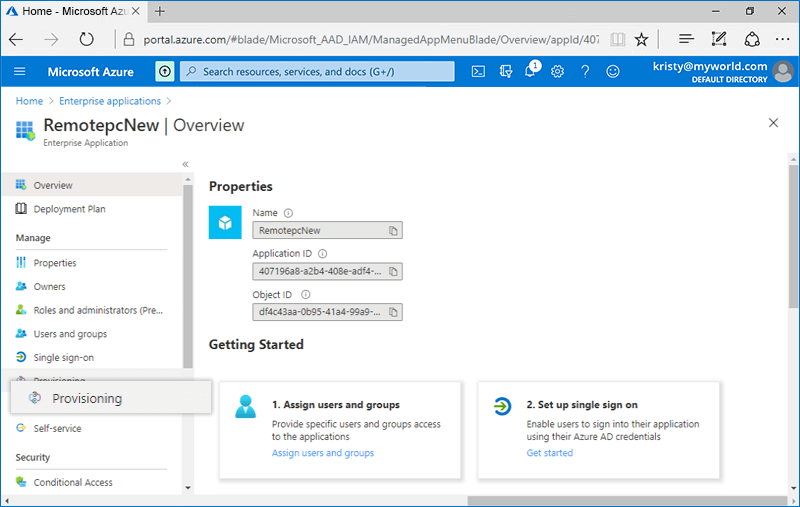
Once the app is created, admin can configure their account for SCIM provisioning.
To configure SCIM provisioning,
- Login to the Azure AD console using your Azure AD account credentials and click on 'Enterprise applications'.
- Click on the newly created application, and select 'Provisioning' tab on the LHS.
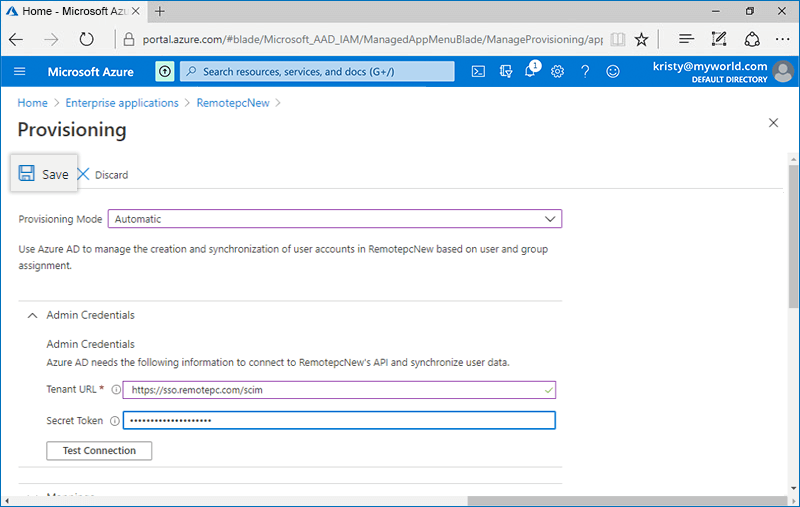
- Click the 'Get Started button' and choose 'Automatic' from the drop-down that appears.
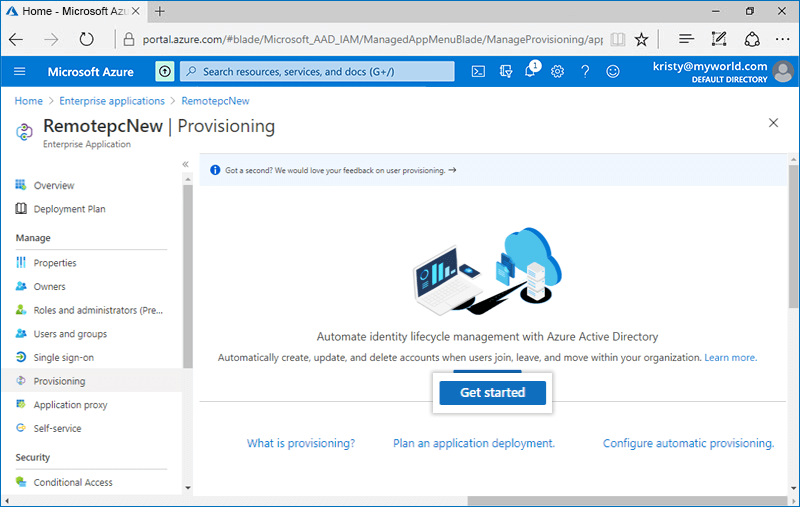
- Click on 'Admin Credentials' tab and add below details:
- Tenant URL: https://sso.remotepc.com/scim
- Secret Token: Enter the SCIM provisioning token generated on your RemotePC account
- Fare clic su "Salva".
To enable provisioning for users / groups, admin needs to assign users / groups to the SCIM app created on Azure AD console.
To assign users / groups,
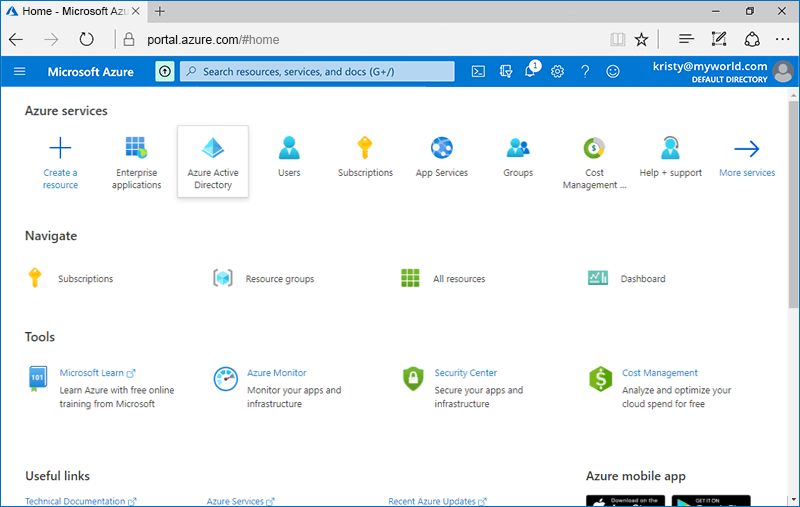
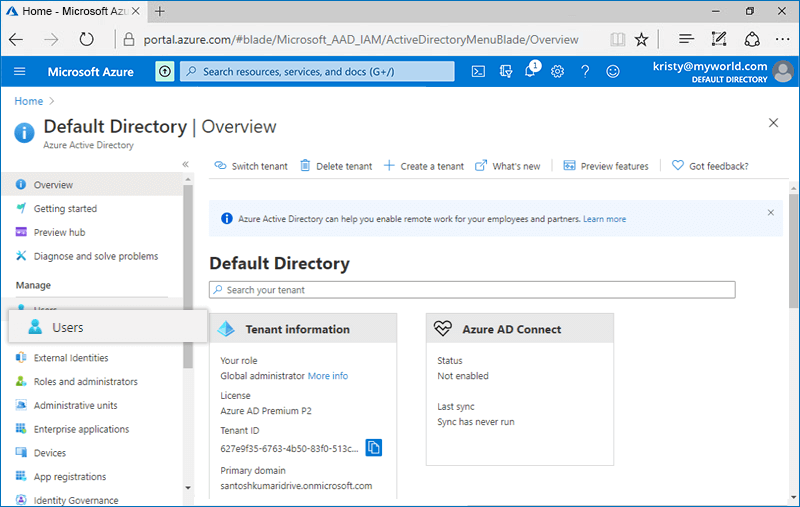
- Navigate to the Azure AD admin console, and click 'Azure Active Directory'.
- Select the 'Users' tab on the LHS and click '+ New user' to add a new user. Similarly, to add a new group select the 'Groups' tab and click '+ New group'.
- Once the user / group is created, go to the 'Enterprise Applications' from Azure AD console and click on the created app.
- Navigate to the 'Users and groups' tab and click the '+ Add user/group' button.
- Search for the user / group you wish to assign to the app, and click 'Assign'.
Once assigned, the users / groups will be provisioned automatically.
Alternatively, to provision user accounts on priority,
- In the application, go to the 'Provisioning' tab and click 'Provision on demand'.
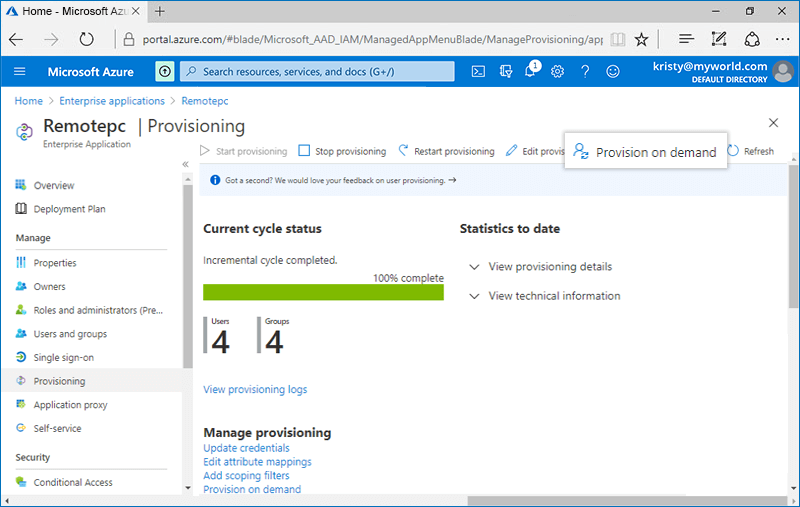
- Search the user account you wish to provision, and click 'Provision'.
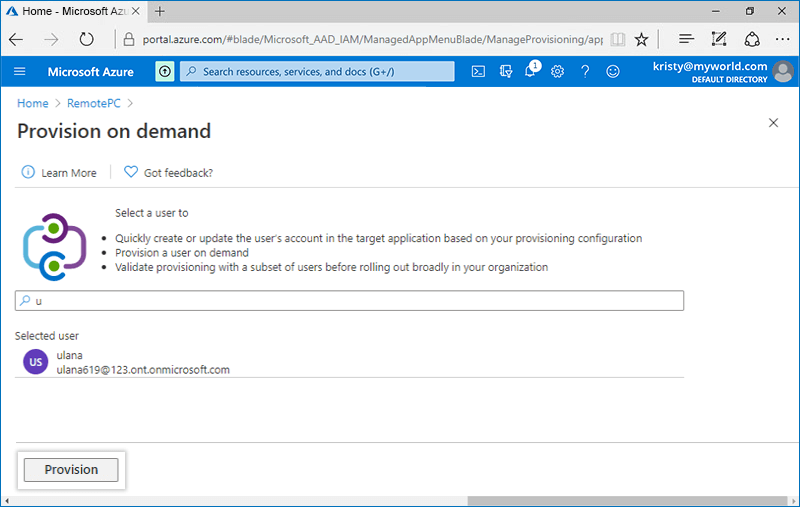
A success message will be displayed once the user account is provisioned.
Learn how to create a Non-gallery application in Azure AD console >